This post is sponsored by The Home Depot.
Where have you been, friends? It's so good to see you! I'm really looking forward to catching you up on all the going-ons. . . but in the meantime, I'm hopping right back into the swing of things.
We've been busy, busy around here re-imagining our home. Our suburban colonial was built nearly twenty years ago and though we are only the second owners, we have definitely, errr, made our mark on the place. Take for example, our carpeting. Our second floor has had the original ivory-colored carpeting in the bedrooms and hallways (thankfully not the bathrooms), and ivory it was no more. And despite our vacuuming, spotting, and shampooing, two decades of wear and tear had rendered our carpeting pretty gross.
Thanks to the good people at The Home Depot, we were able to make a great change!! We selected a beautiful Pergo laminate flooring and installed it ourselves over a series of weekends! I am a lightweight DIY pro. I can craft with the best of them, but ripping out carpeting, pulling up staples, and laying down a floating floor was out of my comfort zone. But there's strength in numbers, and two heads are better than one, so my husband and I (maybe more him than me) set our sights on a whole new look for our entire second floor. Head over to The Home Depot blog to see our how-to and reveal!!

With a new dog, a renewed love for houseplants, and a 20-year old carpet, I was convinced that we needed new flooring!
I wanted a clean break from carpet and a fresh feel for our second floor. All of our bedrooms are on the second floor, and our kids sleep and play in their spaces so easy-to-clean was a top priority for me. With our new dog (there she is, that's Cozi!) and new plants, I wanted something durable.
I'm really happy with how the flooring has refreshed our space.
Our master bedroom had become too much of a catch all for items no longer needed elsewhere. My first big step was a major re-organization. Once we de-cluttered and removed excess, I began to see the potential for this space. Our master has a beautiful vaulted ceiling, plenty of floor space, furniture that I love, and three large windows that brighten the room for most of the day.

Our master bedroom got a refresh all around with new paint, fresh pillows, and new accents. It feels better than ever!
Thanks to the recommendation of designer Jeran McConnel, we also decided to repaint our room. It had been cool green shade called Rejuvenation by Sherwin Williams, and we opted for a clean Alabaster shade (also from Sherwin Williams). Alabaster is a warm white that feels like a color and not the blankness that concerned me when we first considered going to white.
We still have a gallery wall to install, and I'm creating a painting for above our bed, but I already love how our once-dated space feels like an artist's loft with the dark floors and white walls. And I am quite partial to artist's spaces.
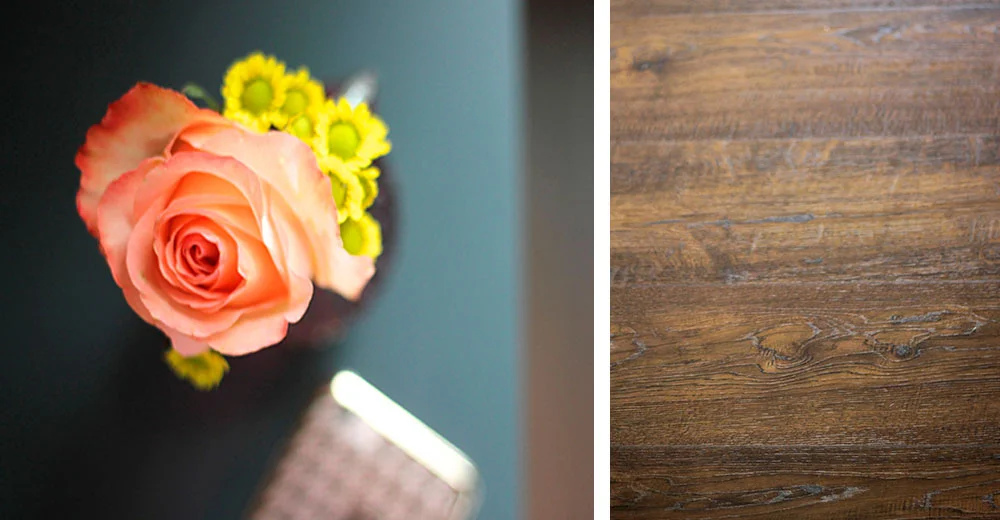
Today's laminate, like the beauty of Auburn Scraped Oak from Pergo, feels and looks authentic.

I reshaped and recovered our nursery glider with this great fabric from Minted artists. Now it feels as comfortable as ever but has a graphic quality that matures it for our bedroom space.
We also re-imagined some furniture in our space like the baby glider. Anyone have one of those??
When our first child was on her way, we wanted one of the infamous baby gliders. Five years later, not only had the glider outlasted its purpose, but we were left with an eyesore. I can't deny that the chair is really comfortable so I attempted to repurpose the glider for the sitting area of our bedroom. I added foam to reshape the traditional lines, and I recovered the whole thing in a graphic pattern from the artists at Minted. Now, along with a floor lamp and great gold pouf, the chair makes a cozy hideaway in front of our windows. It's a lovely spot for morning prayers and journaling as well as a late night retreat for final emails or great books (like this one that I'm loving right now).

This soft shag rug from The Home Depot grounds the room in comfort, and the translucent curtains remind me of summer even in the perma-gray of winter.
Our new white shag rug grounds the room in comfort and luxury. The philodendron (which I've named Phil) is a great touch of green. I'd forgotten how much I enjoy having plants in my space.
I have more to share!! And I'm looking forward to giving you more peaks into our space. I have some projects that I think you'll love, and I'm happy to be back on the blog with you. Thanks for sticking with me and for supporting this blog and small business for so many years!!
Onward and upward - xoxo, MJ
I acknowledge that The Home Depot is partnering with me to participate in this Laminate Flooring Installation ("the Program"). As a part of the Program, I am receiving compensation in the form of products and services, for the purpose of promoting The Home Depot. All expressed opinions and experiences are my own words. My post complies with the Word of Mouth Marketing Association (WOMMA) Ethics Code and applicable Federal Trade Commission guidelines.