This shop is part of a social shopper marketing insight campaign with Pollinate Media Group® Elmer’s and Wet Ones, but all my opinions are my own. #pmedia #CraftandCleanUp http://my-disclosur.es/OBsstV
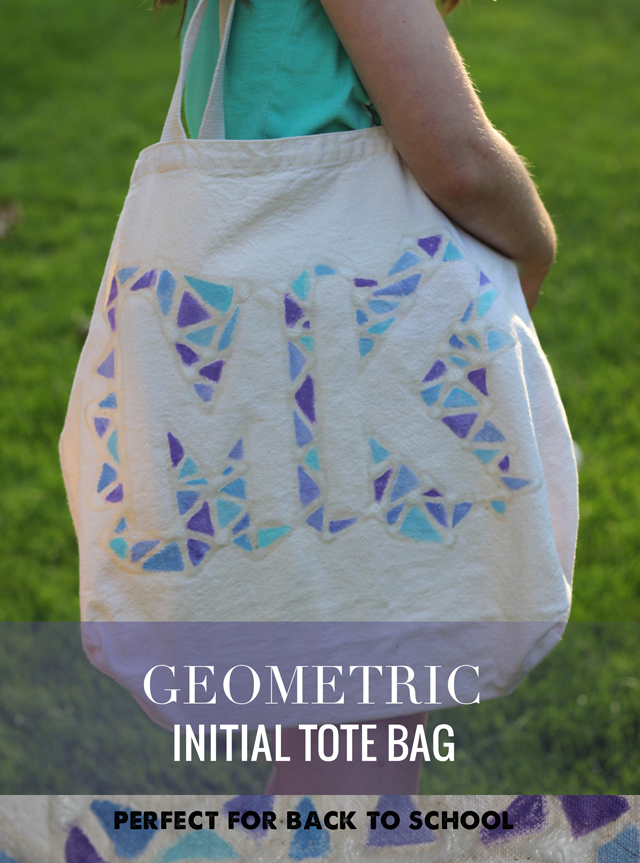
We are getting excited for school around here, and, to celebrate, we created geometric initial tote bags to hold the after-school supplies. Backpacks, lunchbags, and school shoes of all sorts are filling the store shelves and catalogs in our mailbox. Ready or not, summer is coming to a close and a new school year is about to begin. Quite honestly, it's one of my favorite times of year. The beginning of school is like New Year's, with better Midwestern weather. So much potential bundled up into fresh pencils and new notebooks.
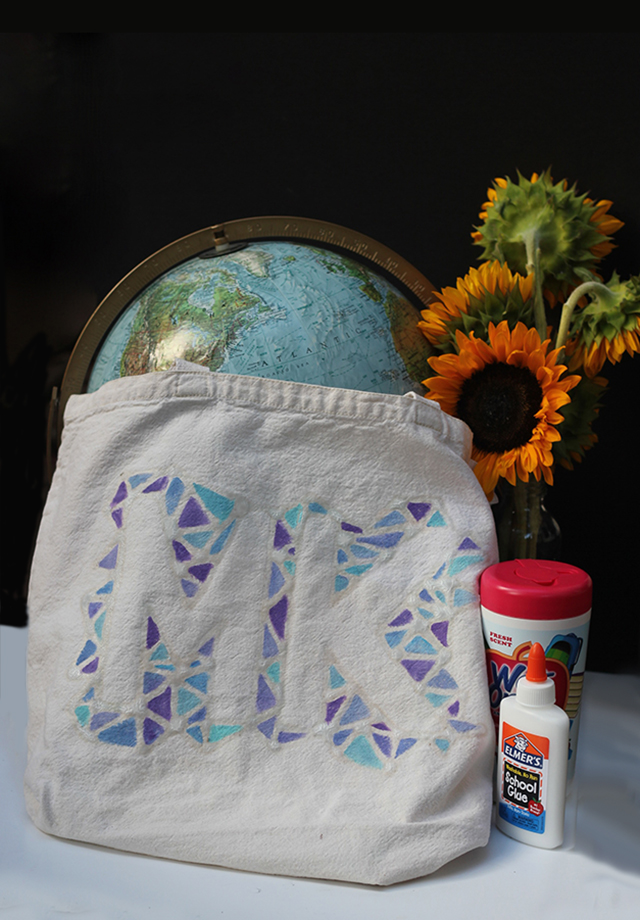
For once, we're ready with school supply purchases. I like to hit Target early to see the entire landscape of what they're offering. I grabbed up this Elmer's and Wet Ones combo pack in the Back to School section. The pairing of these two is genius.
This year my girls, now in second and fourth grade, are involved in a full schedule of after school activities. We purchased some awesome backpacks, but we were still in need of something to hold the piano books, soccer balls, Daisy folders, choir schedules, and more. Little hands tire quickly at the end of the day and carrying all of the other equipment in their arms just isn't practical anymore.
So, with the help of some Elmer's glue and a pack of Wet Ones to clean up our smudges and messes, we got crafty and transformed some plain tote bags into geometric initial totes that the girls can use every day.
We purchased durable canvas tote and drawstring bags, found some acrylic paints in colors that the girls loved, grabbed our Elmer's glue and a paint brush and went to work.
To begin, I drew in a very light pencil, each girl's initials on the bag. I freehanded ours, but you could easily transfer on a large letter image from your favorite font. I'd recommend something simple and bold since the detail of this craft comes through in the geometric shapes.
Next, trace over your lines with glue, trying to maintain the same thickness in each line. Sometimes you'll catch an air bubble or make your own goober so be sure to keep a Wet One wipe close by to clean up your mistake in no time.
Once you have your initial outlined, the fun begins! From the edge of a letter, draw a small triangle and then another and connect them. Be silly, go geo-crazy, and surround your letters with shapes. Be sure to leave the inside of the letters clear of any glue. Make sure that the layer of glue you paint is thick and dimensional.
Let glue dry for a good 2-4 hours.
Grab your paints. We chose just two colors for each bag and mixed different shades together to create an analogous palette. Paint each shape right up to the glue, allowing the glue to act as a barrier to the next shape.
My ladies were quite happy with their new, personalized bags. Fingers crossed for a cleaner minivan.
These bags are getting a workout already with soccer practices nearing and piano lessons every Monday. I love that my ladies are so well rounded and involved, and I'm happy they have some place to keep all of their stuff for these busy times as well!
So many possibilities with this technique! Find a bottle of Elmer's gel glue to create a washable design for your bags that might need more laundering.
We're on the countdown to school with just over three weeks to go. How about you?
xoxo, MJ


