It's my favorite day of the blog week! Time to share another Fresh Holiday Tradition with you.
This week I'm super duper pleased to share with you a homespun piece of Thanksgiving decor that you can easily transition into a Christmas garland when the time is right.
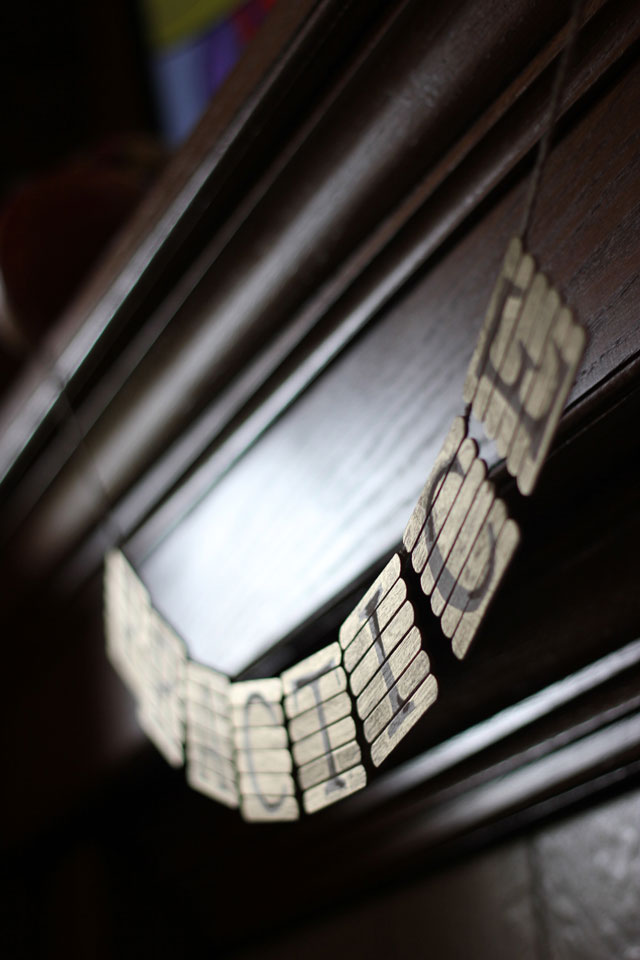
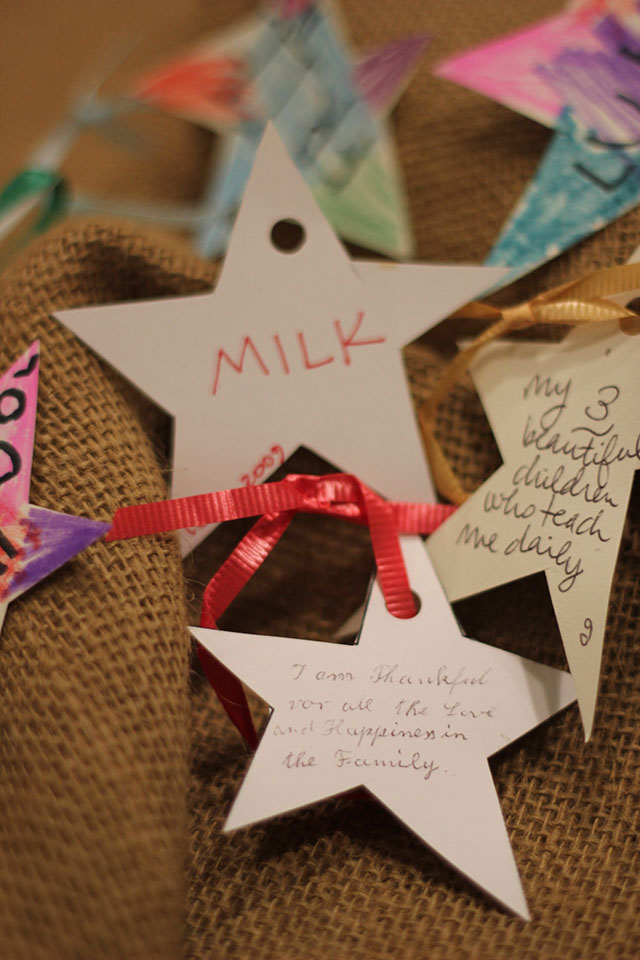
My husband and I have hosted our parents for Thanksgiving here at Pars Caeli since we were married in 2002. As a nervous newlywed, I decided to start a tradition with our guests. Mailed to them about a week before Thanksgiving were paper stars on which they were asked to write people/experiences from which they were grateful. Every person received three stars that they were to sign and date.
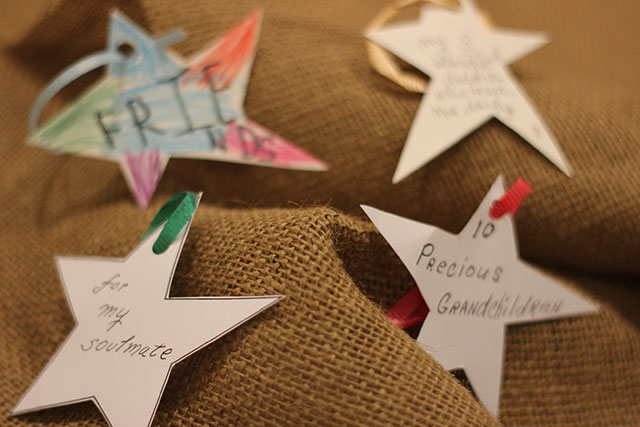
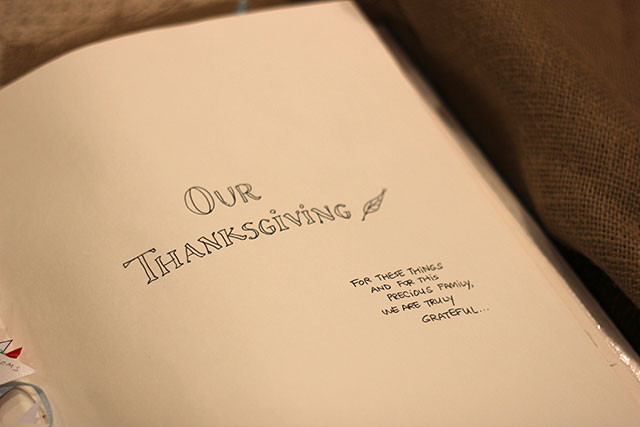
11 years into this tradition, I have an album of stars from all of our family members - featuring the words we thought our infants might use for their favorite objects to the wisdom of my husband's grandmother on the blessings of family and good health. Reading my father's words for "his soulmate" and my little girl at 4 writing that she was grateful for her friends...well, it gets me a little emotional every year.
We put up our tree the evening before Thanksgiving as food prep is also at its peak.
We hang only white lights and these white stars on the tree for a few days surrounding Thanksgiving, and the beauty and simplicity of the words and light is really gorgeous.
As we add our ornaments for Christmas, we keep the white stars on the tree to remind us of the real gifts we've received.
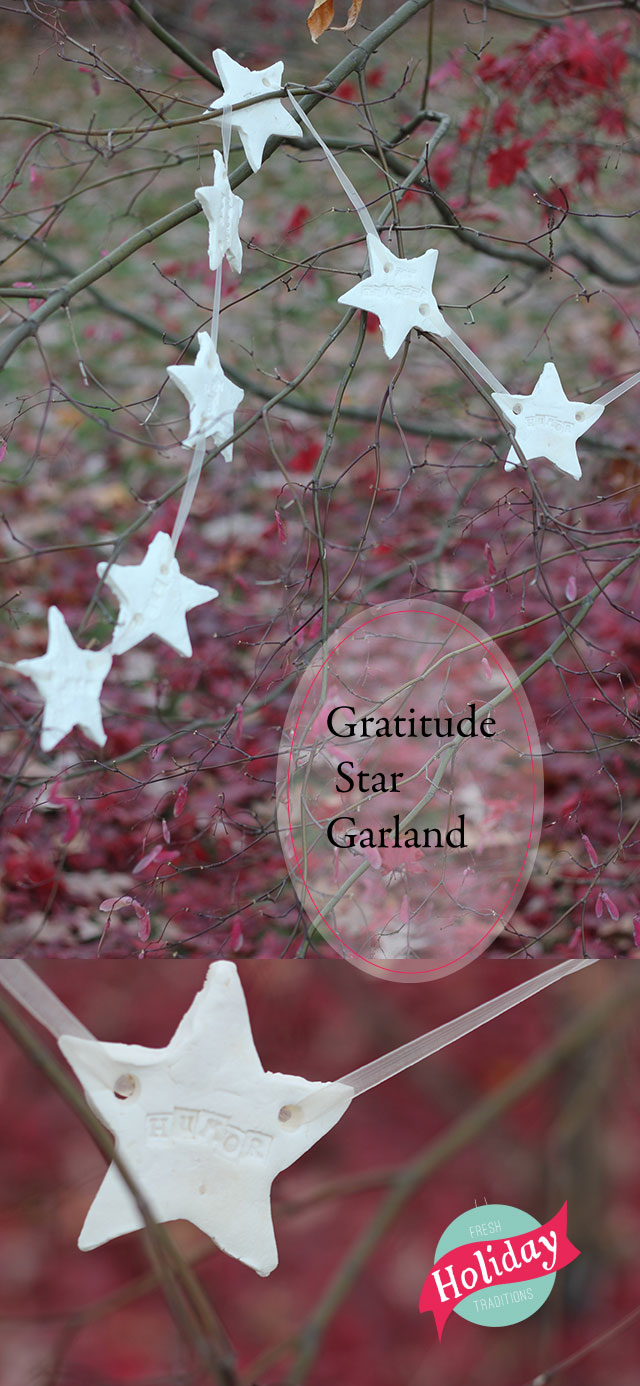
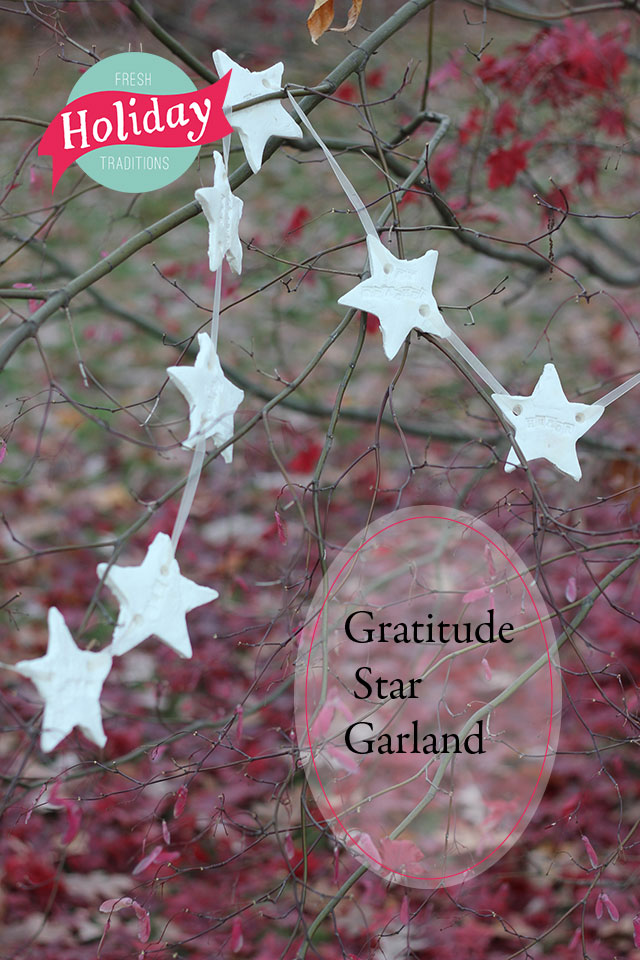
This year I'm putting some of our favorite gifts on a star garland that will hang for Thanksgiving as well as offer a foundational layer on our Christmas tree.

Have you ever made Baking Soda/Cornstarch clay? If not, you really need to carve out some time to do so. The bright white color is brilliant.
I followed this recipe from Full of Great Ideas:
- 2 cups of baking soda
- 1 cup of cornstarch
- 1.25 cups of cold water
1. Combine and mix the ingredients in a pot.
2. Continue to mix as you turn on medium heat. Stir continuously until the mixture pulls away from the side of the pot and becomes more of a ball. This took about 10 minutes for me.
3. Take out the clay and put it in a bowl. Cover the clay with a wet, cool paper towel and allow it to cool off before working with the material.
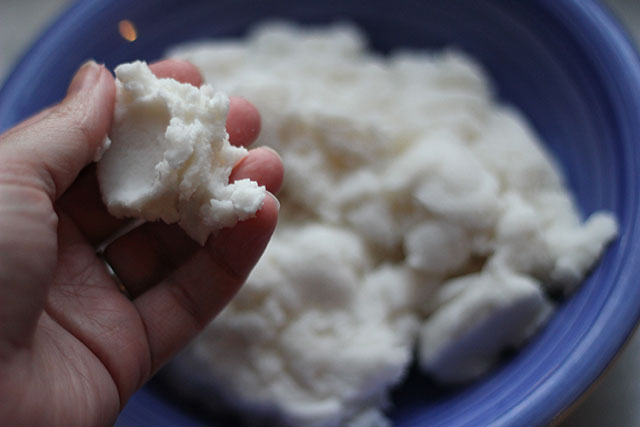
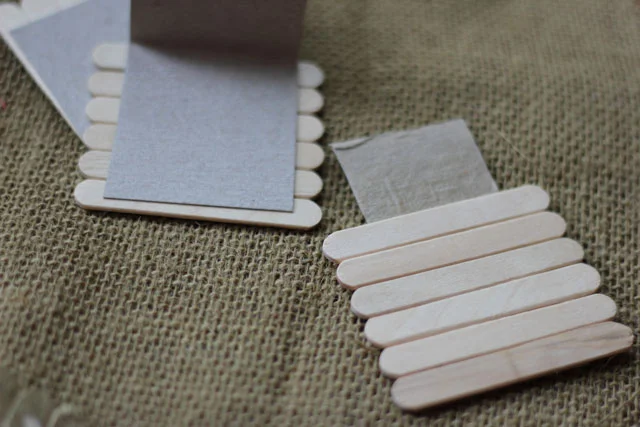
4. Once cooled, the clay will feel like stiff mashed potatoes (in my humble opinion). Roll out your desired amount to about 1/4" thickness and begin cutting with the star shape.
5. I added one gift to each star and kept the descriptions simple (eg: humor, home, my teacher). Also since I wanted to make a garland of these, I added two holes on either side of the star for stringing. Simply use a pencil, eraser end, for these. Using stamps purchased from the dollar bins at Michael's, I stamped in our gratitude, playing with the depth for each letter.

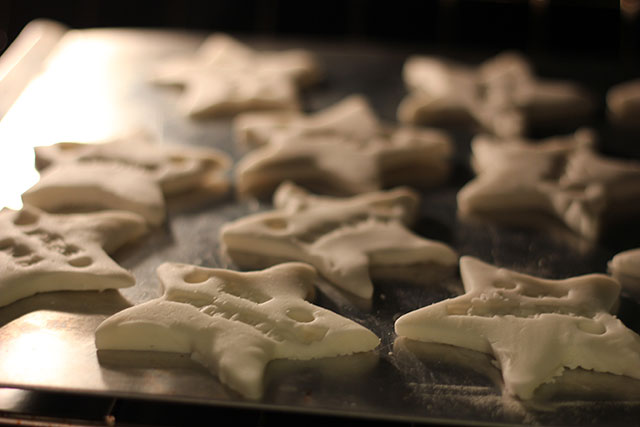

6. Set your oven to 220 F. Place all your stars on a cookie sheet. Set the timer for 45 minutes. Inspect. As the clay bakes, it will turn even whiter. When it's thoroughly white on one side, remove from the oven and turn over on the other side to bake for another 45 minutes. Be careful not to turn up the heat to speed up this process as you run the risk of burning and changing the coloration.


7. Let the stars cool. Once cool, string ribbon through the holes and find the perfect location to show off your Thanksgiving gratitude. And right after the Macy's Day Parade, take it over to your Christmas tree!
We're looking forward to another fun project next week! Until then, let us know how your holiday prep is going!!
xoxo, MJ
Check out the other posts in this series…